

What Is Sun Salutation A and Why It Matters
Surya Namaskar A — commonly called Sun Salutation A — is one of yoga's most foundational movement sequences. Rooted in the Ashtanga Vinyasa system and adopted widely across Hatha and Vinyasa traditions, it links ten distinct positions into a single continuous flow driven by the breath. Every inhale corresponds to an opening or lengthening movement; every exhale corresponds to a folding or descending movement. This breath-movement pairing is called vinyasa.
For new practitioners, Sun Salutation A serves as a comprehensive introduction to the key principles that govern all of yoga: spinal awareness, active engagement of the limbs, steady nasal breathing, and the relationship between effort and ease. For intermediate practitioners, it functions as a reliable warm-up sequence that prepares joints and connective tissue for deeper work.
Research on yoga more broadly suggests benefits for flexibility, stress regulation, and body awareness, though individual outcomes vary considerably. Sun Salutation A is a starting point — not a treatment. Before beginning any new movement practice, consult a qualified healthcare provider, especially if you have existing musculoskeletal concerns.
If you are building this sequence into a larger routine, our guide on building a sustainable morning yoga sequence offers practical structure for before and after the salutations.
What you will need
Tools and Setup Before You Begin
The sequence itself requires very little equipment, but appropriate preparation makes a meaningful difference in safety and focus. Review the tools below and set up your space before stepping onto the mat.
Yoga Mat (standard 68" or longer)
Provides cushioning for knees and wrists, and grip to prevent slipping during transitions.
Yoga Blocks (set of 2)
Bring the floor closer in Standing Forward Bend and Half Lift, protecting the lower back when hamstrings are tight.
Yoga Strap
Assists shoulder opening in Upward-Facing Dog for practitioners with limited chest or shoulder mobility.
Use a Non-Slip Mat and Bare Feet
Bare feet on a non-slip mat give your toes traction to spread and stabilize every stance. Socks reduce proprioceptive feedback and increase slip risk, especially in Downward Dog and the Warrior transitions that precede Sun B. A lightly damp mat cloth can restore grip if the surface becomes slick with perspiration.
For a thorough review of everything to consider before your first session — including hydration, timing, and injury awareness — see our pre-practice readiness checklist.
Step-by-Step: The Full Sequence
The ten steps below cover each position in order, with the associated breath cue, primary alignment points, and a beginner modification where relevant. Move through them slowly on your first attempt, pausing after each step to notice how the body responds before continuing.
This Is General Yoga Education, Not Medical Advice
The instructions in this article are educational in nature and are not a substitute for personalized guidance from a qualified yoga teacher or healthcare provider. If you have any injury, chronic condition, or physical concern — including wrist, shoulder, or lower back issues — consult a medical professional before practicing. Pregnant individuals and those with cardiovascular conditions should seek specific professional guidance.
Samasthiti — Equal Standing
Stand at the top of your mat with both feet together (or hip-distance apart if balance is challenging). Press all four corners of each foot into the mat. Lift your kneecaps by engaging your quadriceps, draw your lower belly gently in and up, and let your arms rest alongside your body, palms facing forward.
Take two to three full breaths here. This grounding moment sets the nervous system before movement begins.
Urdhva Hastasana — Upward Salute (Inhale)
Inhale: Sweep both arms out wide and overhead, palms touching or shoulder-distance apart. Lift your chest, lengthen the sides of your waist, and gently draw the lower ribs in rather than flaring them forward. Keep your neck long — gaze can travel up toward the thumbs only if the neck is comfortable.
Uttanasana — Standing Forward Bend (Exhale)
Exhale: Hinge from the hip creases — not the waist — as you fold forward. Allow the spine to lengthen before it rounds. Place hands on the floor, on blocks, or on your shins. Let the head release fully. Bend your knees as much as needed to keep the spine long rather than compressed.
Ardha Uttanasana — Half Lift (Inhale)
Inhale: Press fingertips or blocks into the floor, then lengthen the spine parallel to the mat. Draw the shoulder blades together and down, open the chest, and create a flat-back position. Your gaze moves slightly forward. This pose prepares the back body for the step or jump back that follows.
Chaturanga Dandasana — Four-Limbed Staff Pose (Exhale)
Exhale: Step or lightly hop both feet back to a high push-up (Plank) position. Draw the navel to the spine. Lower the body in one rigid line by bending the elbows alongside the ribs — elbows track directly back, not out to the sides. Lower only until the upper arms are parallel to the floor.
Modification: Lower both knees to the mat before bending the elbows. This reduces the load on wrists and shoulders while you build the required strength.
Urdhva Mukha Svanasana — Upward-Facing Dog (Inhale)
Inhale: Roll over the toes (or flip the feet one at a time) and press through the tops of the feet and the palms. Straighten the arms, lift the thighs and knees off the mat, and open the chest upward. Keep the shoulders drawing away from the ears and the elbows slightly soft. The neck stays long — the chin lifts only as far as the chest naturally allows.
Modification: Cobra Pose (Bhujangasana) — remain on the tops of the feet, keep elbows bent and close to the ribs, and lift only the chest. This is a safer option for beginners with wrist sensitivity or lower back stiffness.
Adho Mukha Svanasana — Downward-Facing Dog (Exhale)
Exhale: Tuck the toes and press the hips up and back into an inverted V shape. Spread the fingers wide, press evenly through all knuckles, and externally rotate the upper arms so the elbow creases face forward. Allow the heels to reach toward (not necessarily touch) the floor. Hold for five full breaths.
This is an active resting pose. Use each exhale to decompress the spine and each inhale to lengthen from the tailbone to the crown.
Ardha Uttanasana — Half Lift Again (Inhale)
Inhale: Step or hop both feet to the hands, returning to the flat-back Half Lift position from Step 4. Re-establish the long spine and draw the shoulders back. This repeated position reinforces spinal awareness at the midpoint of your return journey.
Uttanasana — Forward Bend (Exhale)
Exhale: Release the spine back into the full forward fold from Step 3. Allow the weight of the head to fully release. Bend the knees as needed. Take one or two breaths here to reset before the final rise.
Urdhva Hastasana and Samasthiti — Rise and Return (Inhale then Exhale)
Inhale: Sweep the arms wide and rise to standing, reaching both arms overhead as in Step 2. Feel the length through the whole front body.
Exhale: Lower the arms alongside the body and return to Samasthiti. That completes one full round of Sun Salutation A. Pause for two or three breaths before beginning the next round.
Common Alignment Mistakes and How to Correct Them
Even experienced practitioners revisit these corrections regularly. The four most common issues seen in beginner practice are:
- Flared elbows in Chaturanga: Elbows should stay close to the ribs, not splay outward. Think of squeezing a block between your upper arms and your torso as you lower.
- Passive hanging in Forward Bend: Uttanasana is an active pose. Engage the quadriceps to protect the hamstring attachments at the sitting bones, and use the core to support the lumbar spine.
- Collapsed wrists in Downward Dog: Distribute weight across all ten knuckles, not just the heel of the hand. This reduces wrist compression and builds the forearm strength needed for arm balances later.
- Holding the breath: The most universal mistake. If you find yourself holding breath at any transition, slow down and prioritize the breath over the shape. The pose will follow.
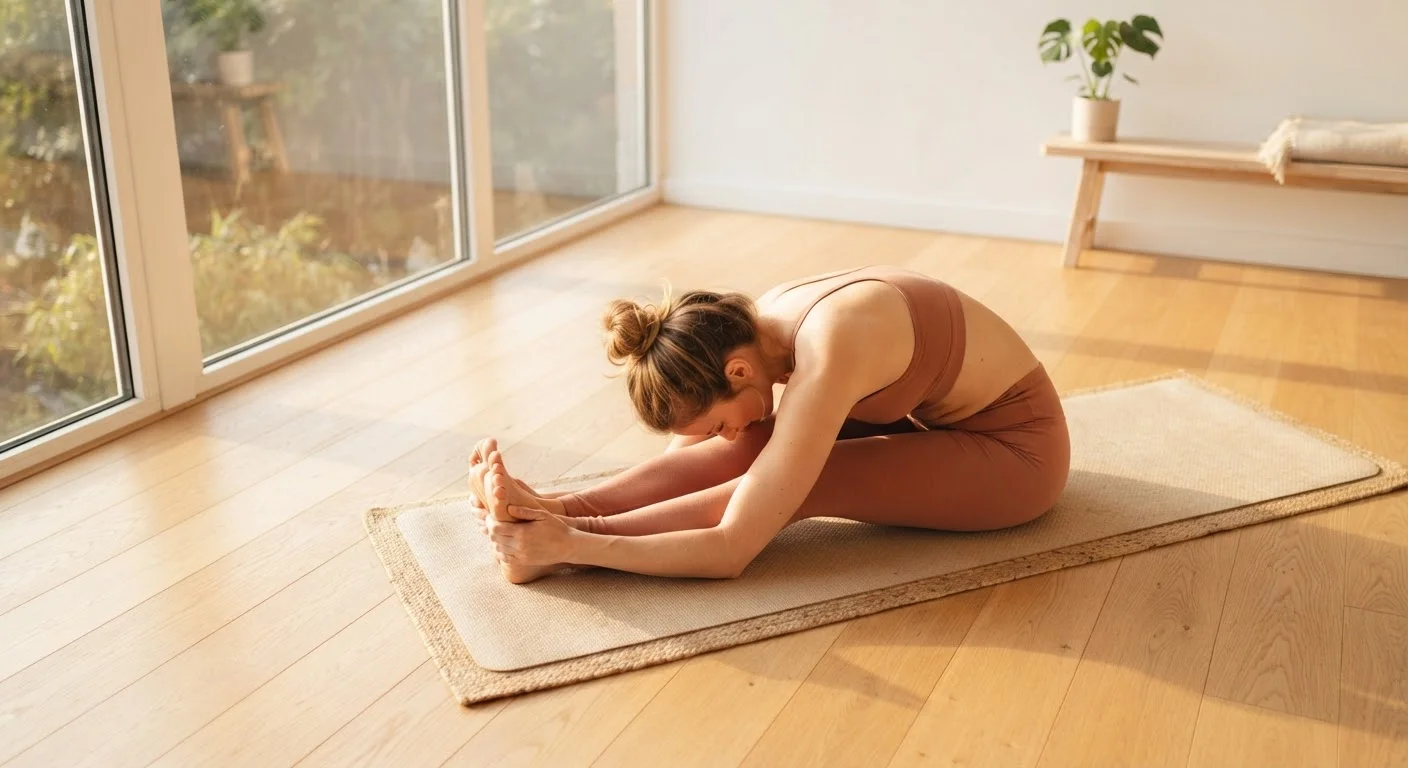
Seated foundation poses such as Staff Pose and Seated Forward Bend develop the hip and spinal awareness that directly improves several of these transitions.
Never Force Range of Motion
Sun Salutation A moves through deep spinal extension and forward flexion, which can strain unprepared tissues if rushed. Avoid locking joints, dropping passively into poses, or holding your breath through any transition. Sensation of stretching is normal; sharp, pinching, or radiating pain is not — stop and rest if you experience any of the latter.
Integrating Sun Salutation A Into a Broader Practice
Three to five rounds of Sun Salutation A typically take 10–15 minutes, making the sequence practical for busy mornings or as an opening to a longer session. It builds internal heat, activates major muscle groups, and calms the nervous system through rhythmic breathing — which is why Ashtanga tradition places it at the start of every practice.
Once the sequence feels familiar, it can serve as a bridge into Sun Salutation B (which adds Warrior I), standing pose sequences, or seated work. For those interested in pairing movement practice with seated meditation, our guide on building a unified yoga and meditation practice outlines how to integrate both effectively from the ground up.
Progress in Sun Salutation A is not about achieving perfectly straight legs in Downward Dog or landing a jump-back with control. It is about deepening the quality of breath, refining awareness of each transition, and sustaining steady attention throughout all ten positions. Those qualities carry into every area of practice — and daily life.
This article is for general informational and educational purposes only. It does not constitute medical advice, diagnosis, or treatment. Always consult a qualified healthcare professional or certified yoga teacher before starting a new movement practice, particularly if you have any health conditions or physical limitations.
The content on this site is for informational purposes only and is not a substitute for professional advice. Always consult a qualified professional for guidance specific to your situation.