

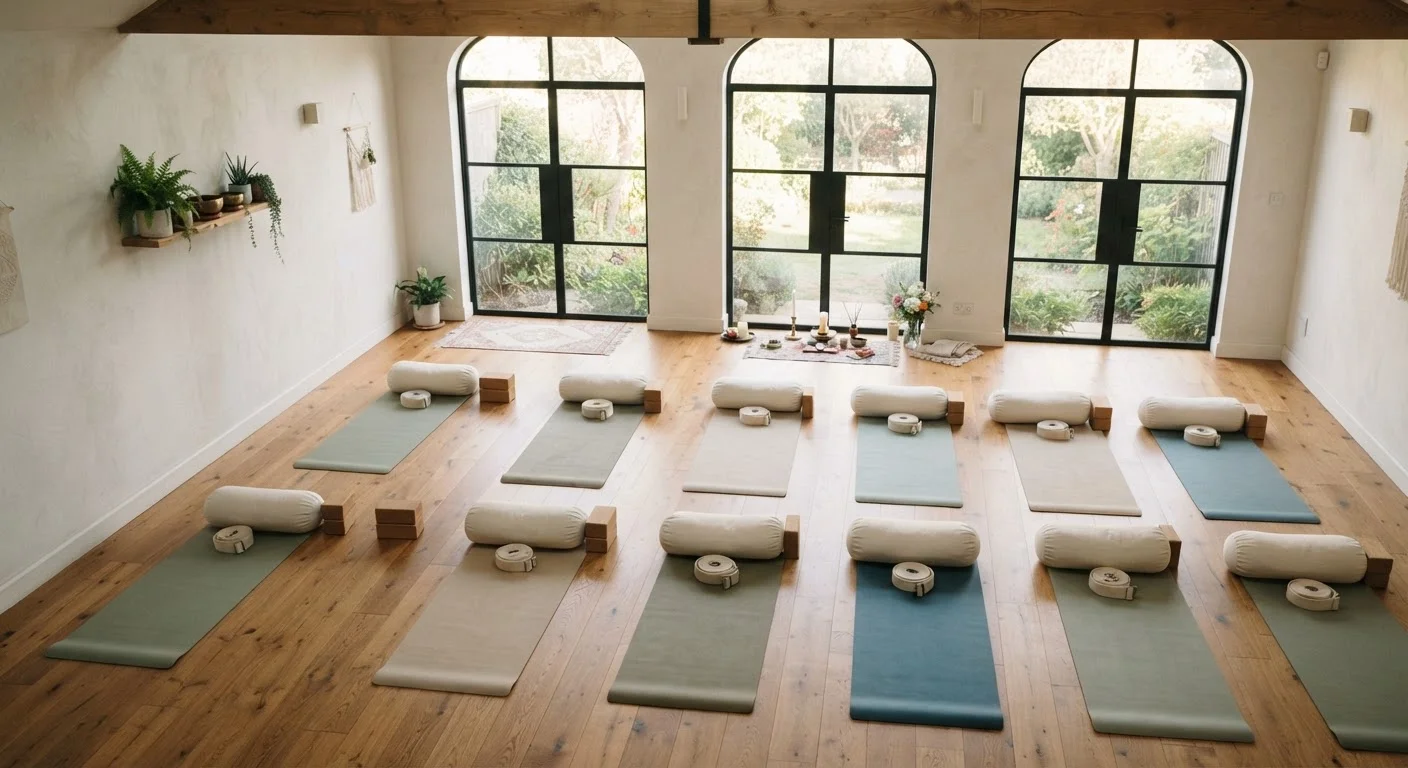
Reframing What Props Actually Do
The idea that yoga props are a crutch persists stubbornly in group classes and online culture. In reality, props are precision instruments — the yoga equivalent of using the correct chisel for a specific cut. Their purpose is not to make poses easier in a vague sense, but to create the exact physical conditions under which the nervous system can learn alignment, build strength, and release tension safely.
B.K.S. Iyengar, who systematized the use of props in modern yoga, described them as extensions of the body. This framing matters: a block placed under the hand in Triangle Pose does not diminish the pose — it recreates the same geometry that longer limbs or greater flexibility would otherwise allow. The pose becomes anatomically honest rather than strained.
“Props are not to be used by beginners only. They are tools of intelligence. A prop does for the body what understanding does for the mind.”
— B.K.S. Iyengar, Founder of Iyengar Yoga and author of 'Light on Yoga'
Whether you are new to yoga or returning after injury, understanding what each prop does — and why — transforms how you practice.
Blocks: Building the Right Foundation
Foam, cork, and wooden blocks are the most versatile props in the studio. They raise the floor, shorten the distance between your hand and the ground, and create stable platforms for seated or supine practice. Using a block is not a modification that waters down a pose — it is often the technique that makes correct alignment physically achievable.
Use blocks at the height that allows your spine to stay long, not at the lowest setting by default.
Many practitioners automatically use the flat (lowest) block setting, which can still be too far from the ground for their current range of motion. Choosing the height that genuinely supports length in the spine ensures the pose is working as intended rather than creating compensatory tension.
Loop a strap before entering a pose, not as a rescue mid-struggle.
Setting up a strap proactively allows you to enter the pose with correct form from the first breath. Grabbing a strap after you've already strained to reach means the compensation pattern is already active in the body.
Position bolsters so your body weight is fully supported — no muscles should be working to hold the shape.
The restorative effect of bolster-supported poses depends on complete muscular surrender. If the bolster is slightly off-center or at the wrong angle, the body continues gripping to maintain balance, which defeats the purpose of the practice.
Reassess your prop setup every few weeks as your practice evolves.
Flexibility, strength, and body awareness change over time. A block height or strap length that was appropriate three months ago may now be limiting rather than supporting growth. Regular reassessment keeps props working as dynamic learning tools.
Combine props when multiple support points are needed in a single pose.
Complex poses often require support at more than one contact point. Using only one prop while another body part strains undermines the principle of intelligent alignment throughout the whole pose.
In standing poses such as Half Moon or Extended Side Angle, placing a block under the lower hand allows the spine to lengthen and rotate freely rather than collapsing to reach the floor. In seated forward folds, sitting on a block tilts the pelvis forward, relieving strain on the lower back and making the fold accessible to tighter hamstrings without rounding dangerously.
Blocks also function as resistance tools. Squeezing a block between the thighs in Bridge Pose activates the adductors and prevents the knees from splaying — a cue that builds muscular engagement rather than reducing it.
Straps: Bridging the Gap Between Limbs
Cotton or nylon straps extend your reach when your hands cannot connect — whether that's clasping behind your back, binding in a twist, or reaching the feet in a seated forward bend. Without a strap, practitioners often compensate by rounding the spine, gripping tightly with neck muscles, or holding their breath — all of which undermine the purpose of the pose and raise injury risk.
A strap looped around the feet in Seated Forward Bend (Paschimottanasana) allows the practitioner to maintain a long spine while gradually working toward fuller hip flexion. The strap does the "reaching" so the back muscles can release. Over consistent practice, this approach produces real flexibility gains more reliably than straining does.
Start with a Longer Strap Than You Think You Need
Beginners often underestimate how much length they need, tightening the strap before the pose begins and then straining to maintain it. Start with the strap on its longest setting and adjust from there — a slight bend in the elbows indicates appropriate strap length. This small adjustment makes the difference between a productive stretch and an uncomfortable tug-of-war.
Straps are also valuable for shoulder health. In poses that require internal rotation or wide arm spans, a strap between the hands keeps the arms at a safe distance while still activating the target muscles.
Bolsters: The Language of Restorative Practice
Bolsters — firm cylindrical or rectangular cushions — are the cornerstone of restorative yoga, a style focused on deep nervous system rest rather than muscular effort. Placed under the spine in Supported Fish, beneath the knees in Savasana, or between the thighs in a side-lying position, a bolster allows the body to fully surrender without the muscles working to stabilize the pose.
This matters more than it may seem. Chronic stress keeps the autonomic nervous system in a state of sympathetic activation — the so-called fight-or-flight mode. Restorative poses held for five to ten minutes with full bolster support can facilitate a shift toward parasympathetic activity, associated with rest, digestion, and recovery. Research into yoga nidra and restorative practices suggests benefits for stress and sleep quality, though individual results vary and this area continues to be studied.
Bolsters also support practitioners with limited mobility, those recovering from injury under professional guidance, or anyone practicing during periods of fatigue. Their use is not passive — choosing the right support and settling into stillness requires attention and skill.
Making Props a Consistent Part of Your Practice
The practical barrier for many people is simply not having props at home or feeling self-conscious using them in class. Both obstacles are worth overcoming. Folded blankets substitute for blocks and bolsters; a belt or necktie works as a strap. Studios typically provide props freely — using them signals thoughtful engagement, not limitation.
The deeper shift is attitudinal: approaching props as learning tools rather than last resorts. Experienced teachers often encourage students to use a block even when they can reach the floor, because the block may allow a more instructive version of the pose. The goal of yoga is not to touch the floor — it is to understand your body in space, build awareness, and practice safely over time.
This article is for general informational and educational purposes only and does not constitute medical or therapeutic advice. Consult a qualified yoga instructor before beginning or significantly changing a yoga practice, and speak with a licensed healthcare provider if you have existing injuries, medical conditions, or special health considerations including pregnancy.
The content on this site is for informational purposes only and is not a substitute for professional advice. Always consult a qualified professional for guidance specific to your situation.